This tutorial is adapted from Web Age course AWS for Solution Architects.
In this tutorial, you will work with the AWS Lambda service.
You will create a Lambda function and attach it as a trigger script to a DynamoDB table to listen on for any inserts in the target table. Then, you will use the aws unified tool to insert a JSON-encoded document into the DynamoDB table.
The tutorial will also illustrate how you can tweak service permissions expressed in IAM policies.
You need to generate Key pairs and EC2 instance to get started with this tutorial. Please refer to this article to learn how to do this.
Part 1 – Log In to AWS Management Console
1. Open your browser and sign in to the AWS Management Console.
2. Make sure you are in the right region.
Part 2 – Create a DynamoDB Table
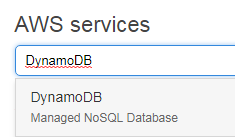
1. In the AWS Management Console, search for and select DynamoDB.
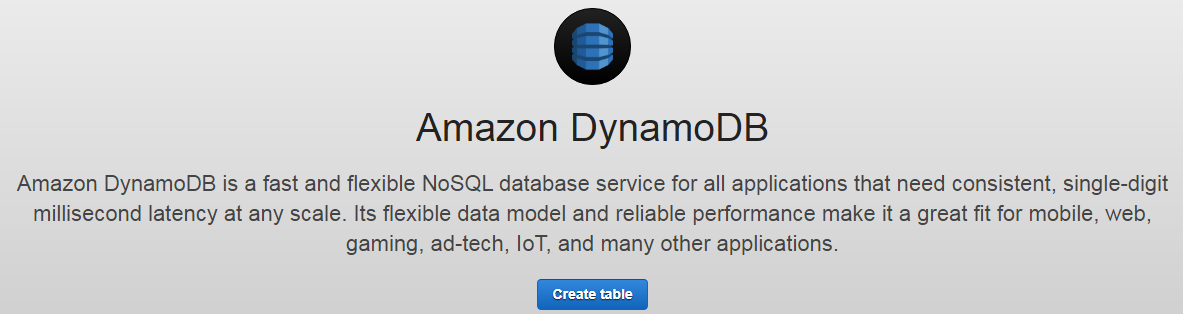
 You will be placed in the Amazon DynamoDB Welcome page.
 Note: We will be referring to this browser tab as the DynamoDB tab.
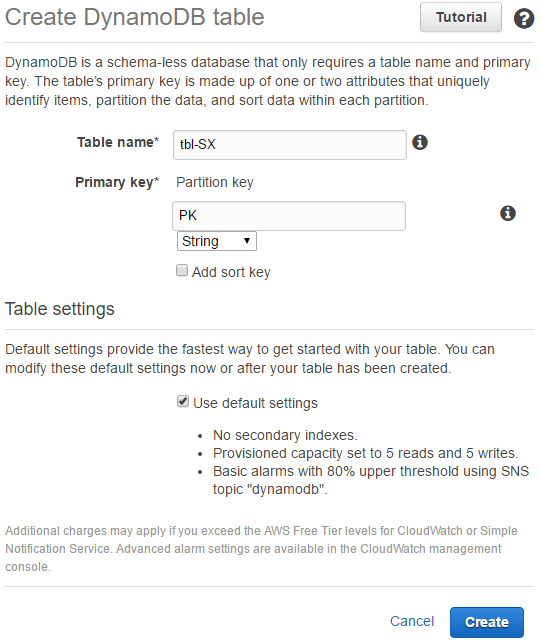
2. Click Create table.
3. For Table name, enter tbl-{Your User Name}, e.g. tbl-SX
4. For Primary key (Partition key), enter PK; keep String for its type.
5. Keep other defaults and click Create.
 It may take a moment for AWS to create the table.
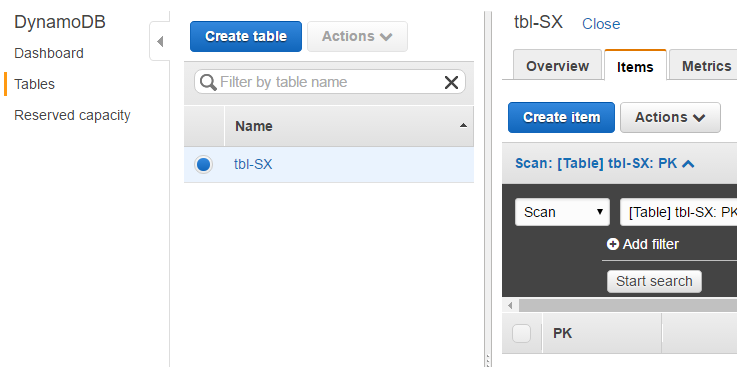
6. Click the Tables link in the left-hand navigation bar.
7. Select the newly created table.
8. In the Overview tab, check the table’s Amazon Resource Name (ARN). It would be like this:
Amazon Resource Name (ARN) arn:aws:dynamodb:us-west-2:11336:table/tbl-SX
which has the region in which the table was created embedded in it (us-west-2 above).
9. Click the Items tabs.
On creation, the table should be empty.
 Part 3 – Create a Lambda Role and a Policy
Before we create our lambda function, we need to set up a specialized role that our lambda function could use; the role, in turn, depends on a policy that prescribes the allowable actions.
1. Duplicate the browser tab.
2. Navigate to the IAM service.
Note: We will refer to this browser tab as the IAM tab.
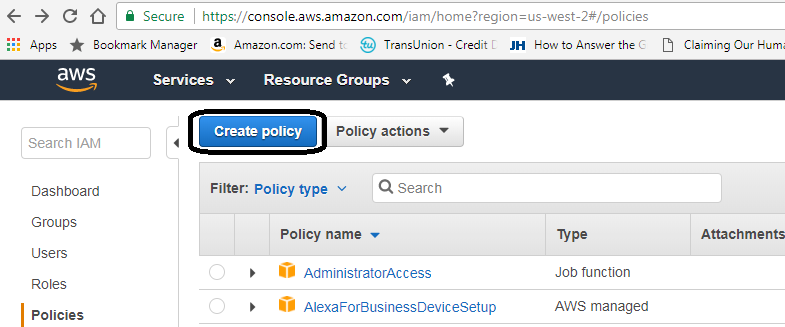
3. Click Policies in the left-hand side navigation bar.
4. Click Create policy.
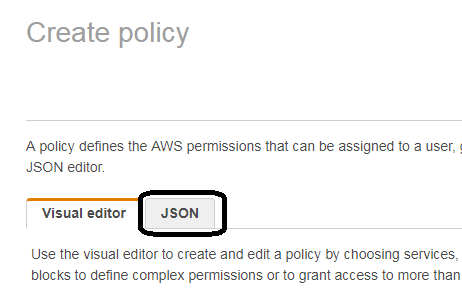
 5. Click the JSON tab in the Create Your Own Policy section.
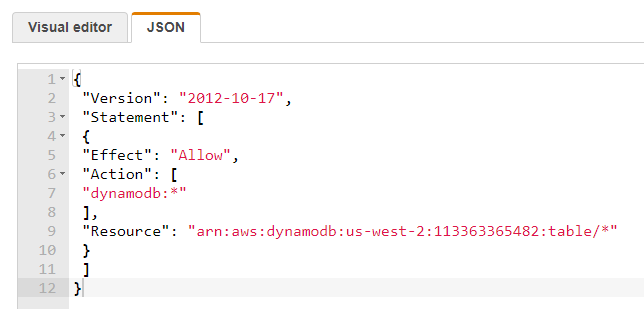
 6. Open a new browser tab and navigate to http://bit.ly/2sTwYpZ
7. Copy the policy text to the clipboard.
{
 "Version": "2012-10-17",
 "Statement": [
 {
 "Effect": "Allow",
 "Action": [
 "dynamodb:*"
 ],
 "Resource": "arn:aws:dynamodb:us-west-2:113363365482:table/*"
 }
 ]
}
8. Go back to the IAM tab and paste the contents of the clipboard in the JSON window.

9. Click Review Policy.
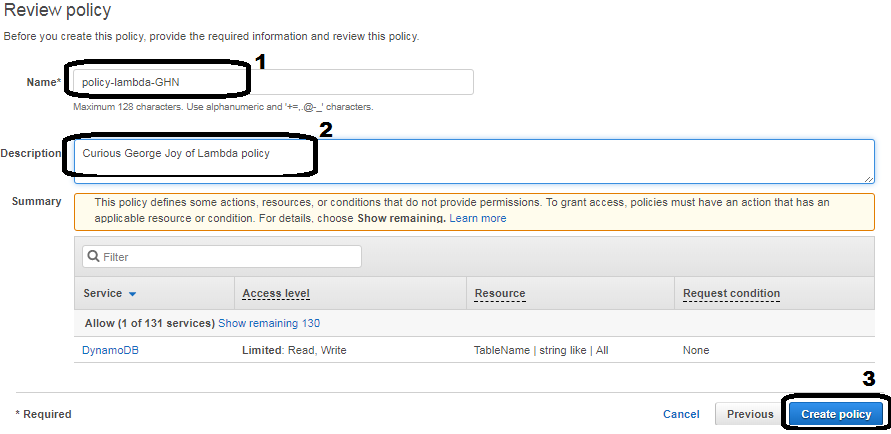
 10. Enter the information for name and description as shown below, replacing “GHN” with your student number or initials.
-
Name: policy-lambda-GHN
-
Description: Curious George Joy of Lambda policy
11. Click Create Policy.
 12. Now, click Roles in the left-hand side navigation bar.
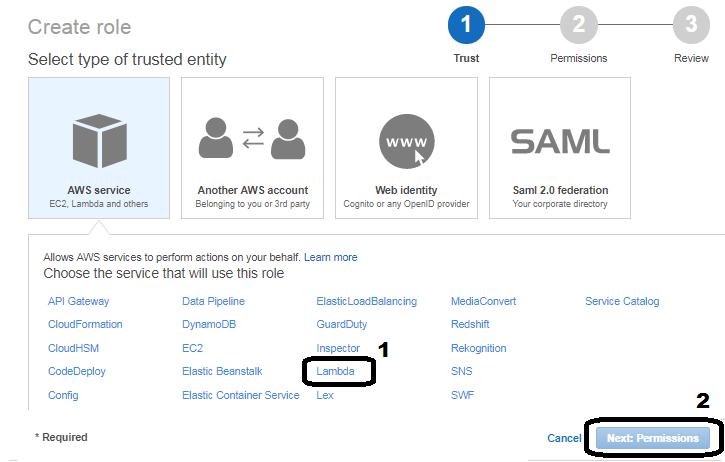
13. Click Create Role.
 14. Click to select in the Lambda.
15. Click Next:Permissions.
 16. In the Attach permissions policy page, search for your policy by typing policy-lambda, and then check the box next to it.
 17. Click Next:Review.
18. For Role name, enter role-lambda-{Your User Name}
19. For Role Description enter George Joy of Lambda Role
20. Click Create role.
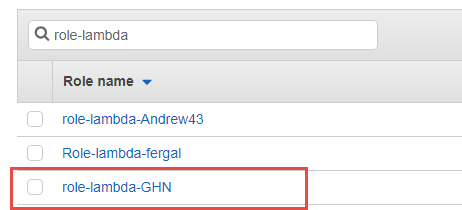
 The roles page will open, type role-lambda in the search field.
You role should now be listed in the Roles main page (role-lambda-{Your Student ID or Initials} is shown below).
 Now that we have set-up the specialized role and attached the required policy to it, we can go ahead and create our lambda function and bind our role to it.
Part 4 – Create a Lambda Function
1. Duplicate the browser tab. We will refer to the new tab as the Lambda tab.
2. In the Lambda browser tab, click Services in the upper left corner and locate Lambda.
3. In the AWS Lambda page, click Get Started Now, or Create a Lambda function or Create a function, depending on the previous user activities.
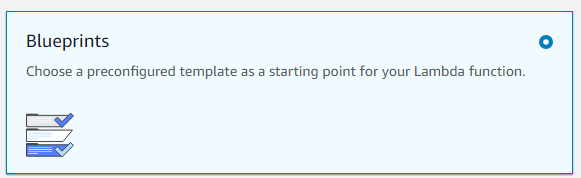
We will use one of the useful blueprints to help us navigate through the configuration options.
4. Click BluePrints.
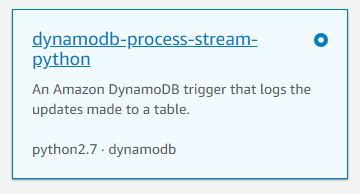
 5. Search for dynamodb-process-stream-python.
6. Click the link for dynamodb-process-stream-python with python2.7 runtime support.
 7. In the Basic Information section, enter the following information:
-
Name: lambda-{your AWS user name} (e.g. lambda-s79) -
Role: Choose an existing role
-
Existing role: role-lambda-{AWS user name} (e.g. role-lambda-s79)
8. In the DynamoDB trigger section, use the following values:
-
For DynamoDB table, select the table name you created above.
-
For Starting position, select Latest.
-
Check Enable trigger.
9. Click Create function.
10. In the Function code section:
-
Set the Runtime to Python 2.7
-
In the Lambda function code, do the following updates:
-
Uncomment the print statement (remove the # character) :
-
# print("Received event: " + json.dumps(event, indent=2))
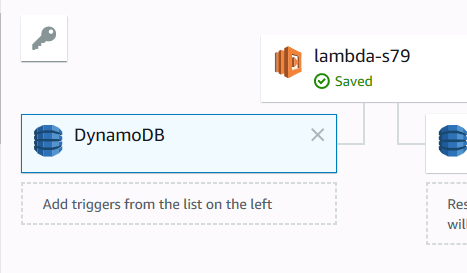
11. Click Save.
Notice DynamoDB is listed as the source to your Lambda function.
 12. Switch to the DynamoDB tab.
13. Click the Triggers tab.
You should see your Lambda function name listed there.
If you do not see your function there, refresh the page. (e.g. lambda-SX)
 Part 5 – Connect to Your EC2 Instance with the aws Tool

1. Duplicate the DynamoDB tab; we will be referring to the new tab as the EC2 tab.
2. Click Services; search for and select EC2.
3. Click Instances in the left menu.
Next you will start the instance named after your user name (e.g. SX) – that instance has the aws tool updated with your account credentials (the Access key ID and Secret access key) to allow remote connections.
4. Locate and right click on your instance, then select Instance State → Start.
5. Click Yes, Start.
6. Wait until it is started and then write down the Public IP address of your instance.
Part 6 – Connect to Your EC2 Instance Using PuTTY
1. Launch your PuTTY SSH client and repeat steps 1 through 7 outlined in Part 5 – Connect to the EC2 Instance Using the PuTTY SSH Client of the blog post: Getting Started with the EC2 Service .
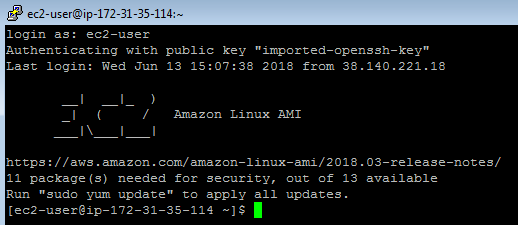
You should be placed right into the home directory of the ec2-user user on your EC2 instance.
 Part 7 – Use AWS CLI to Insert Data into DynamoDB
You are going to insert data into the DynamoDB table you just created above; when the data is inserted, the trigger in the form of your Lambda function will be invoked and entry is going to be made into a CloudWatch log file.
The file that contains the records to be inserted has already been created and you just need to download it.
1. Get the file from the class remote repository using this command:
wget --no-check-certificate https://goo.gl/jVVeww -O dynamoDbLoad.json
The downloaded file named dynamoDbLoad.json will be placed in your ec2-user home directory.
2. Open your text editor (e.g. nano or vi) and replace the tbl-SX token at the beginning of the file with your own, e.g. tbl-S4
nano dynamoDbLoad.json
3. Save the changes and close the file.
4. Enter the following command:
aws configure
5. Enter the AWS Access Key ID that the instructor provide to you.
6. Enter the AWS Secret Access Key that the instructor provide to you.
7. Click Enter for Default region name.
8. Click Enter for Default output format.
__9. Now enter the following command (in one line) specifying the region your DynamoDB table was created (us-west-2 is shown below):
aws dynamodb batch-write-item --request-items file://dynamoDbLoad.json --region us-west-2
You should get the following response:
{
    "UnprocessedItems": {}
}
10. Switch to your browser and go to the DynamoDB tab.
11. Click Items tab.
12. Click the Refresh button in the upper right corner of the page and click Start search.
You should see the inserted items.
 13. Click the Lambda browser tab and click the Monitoring tab.
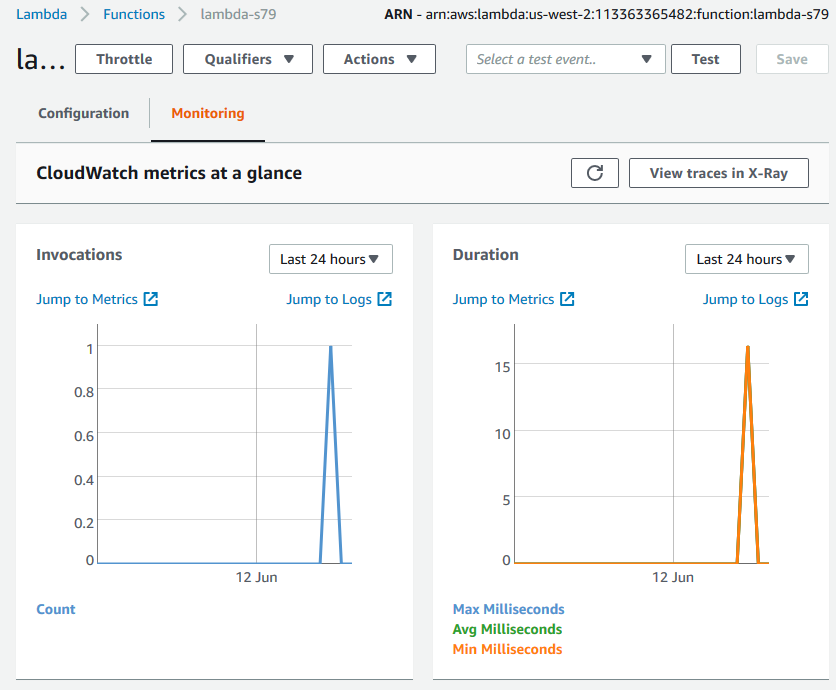 You should see some metrics captured by the CloudWatch service.
While our Lambda function has rather limited functionality, it has all the required settings that can help you make it as complex as you may want it to be, e.g. it can scan the inserted records looking for specific information and then send a notification using Amazon Notification Service or copy selected records to an S3 bucket.
Part 8 – Workspace Clean-up(optional)
1. Close the PuTTY terminal.
2. Switch to the EC2 browser tab and stop your EC2 instance.
3. Switch to the DynamoDB browser tab and click Tables.
4. Select your table and click Delete table.
5. In the Delete table popup, keep the Delete all CloudWatch alarms for this table checked and click Delete.
6. Switch to the Lambda browser tab and delete your Lambda function by selecting Actions > Delete function.
7. Confirm the Delete operation.
8. Select the IAM tab.
9. In the left menu, select Roles.
10. Locate and select the role that you created, and then click Delete Role.
11. Confirm the Delete action.
12. In the left menu, select Policies.
13. Search for and select your policy, and then from the drop-down click Policy actions → Delete.
14. Confirm the Delete action.
15. Sign out from the AWS Management Console.
16. Close all.
Part 9 – Review
In this tutorial, we worked with a Lambda function that we attached as a trigger to a DynamoDB table.