In this tutorial, you will set up an AWS Cloud9 development environment and run a Python script.
Featured Upcoming
Free Webinars!
Join our community of 80,000 IT professionals by registering today.
AWS Discovery Days – Complimentary
Half Day AWS Training Course
Tuesday, September 28![]()
11:00 AM to 2:30 PM ET
Data Engineering & Data Analytics
Upskilling Trends in 2021
Complimentary White Paper![]()
10 Minute Guide
Part 1 – How to Log In to AWS Management Console?
1. Open your browser and sign in to the AWS Management Console.
2. Make sure you are in the right region.
Part 2 – How to Create an Environment?
In this part, you will use the AWS Cloud9 console to create and then open an AWS Cloud9 development environment.
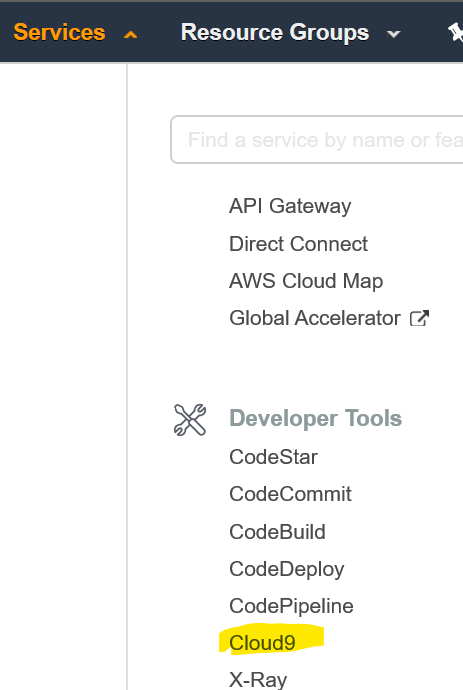
1. Click Services and then click Cloud9 under Development Tools
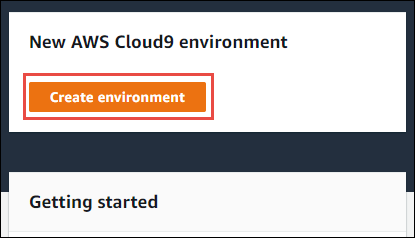
2. If a welcome page is displayed, for New AWS Cloud9 environment, choose Create environment. Otherwise, choose Create environment.
 Or,
Or,

3. On the Name environment screen, enter the following: (Note: Append your AWS login ID, for example s19, to the Name field)
Name: my python dev environment s19
Description: This environment is for the AWS Cloud9 tutorial
Note: It should look like this
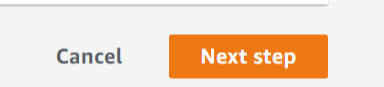
 4. Click Next step
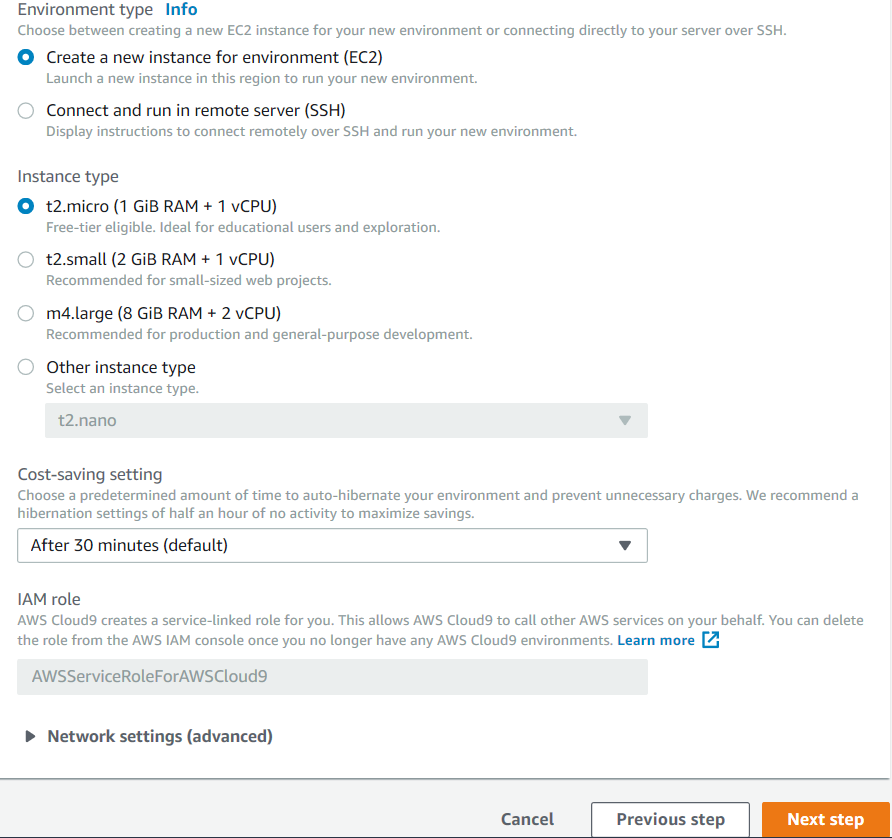
 5. On the Configure settings screen, use the default settings and click Next step
 6. On the Review screen, click Create environment
Part 3 – How to Verify if Python is Installed?
In this part, you will verify Python is installed. If it’s not installed, you will install it.
-
On the menu bar, click Window > New Terminalto open a terminal window.
-
Run the following commands to verify Python is installed
python2 --version
python3 --version
Verify your result looks like this:
Python 2.7.14
Python 3.6.5
If python isn’t installed, run the following commands to install Python 2.7 and Python 3.6
sudo yum -y update
sudo yum install -y python27
sudo yum install -y python36
Part 4 – How to Create a Python Runtime?
In this part, you will create a python runtime and configure it to use Python 3.6
1. Run the following command to find the version configured to be used with the python command
python --version
It should show 2.7.x
2. Ensure virtualenv is installed
virtualenv --version
3. Remove the alias configured with python command
unalias python
4. Obtain Python 3.6 location
which python36
5. Switch to the environments directory
cd ~/environment/
6. Create a new virtual environment and configure it to use Python 3.6
virtualenv -p /usr/bin/python36 vpy36
7. In the virtual environment, switch to Python 3.6
source vpy36/bin/activate
8. Verify Python in the virtual environment is configured to use version 3.6
python --version
9. Deactivate the virtual environment
deactivate
10. Re-create alias for Python
alias python=/usr/bin/python27
Part 5 – How to Create a Simple Python Program and Run it?
In this part, you will create a simple Python program and run it
1. Create a new file by click File > New File on the menu bar
2. In the editor, enter the following code
import sysprint('Hello, World!')print('The sum of 2 and 3 is 5.')sum = int(sys.argv) + int(sys.argv)print('The sum of {0} and {1} is {2}.'.format(sys.argv, sys.argv, sum))
3. Save the file by click File > Save on the menu bar.
4. In the Save As dialog box, enter test.py as the file name and click Save button
5. Switch to the Terminal window. (If you don’t have terminal window open, click Window > New Terminal on the menu bar)
6. Run the following command to execute test.py
python test.py 5 6
Notice it shows the output like this:
 Part 6 – How to Execute the Python Program using Run Configuration?

In this part, you will execute the test.py program using Run Configuration
1. On the menu bar, click Run > Run Configurations > New Run Configuration
2. In the Idle tab, click Runner: Auto and select Python 3
 3. In the file explore, double click test.py to open the file in a tab
4. In – Idle tab, type the following in the Command field
test.py 5 6
 5. In the – Idle tab, click Run to execute the program
Verify the result shows up like this:
 Part 7 – Clean Up

In this part, you will close the tabs
1. In Cloud9 IDE, close all tabs
Part 8 – Review
In this tutorial, you created a AWS Cloud9 development environment and executed a Python script