This tutorial is adapted from the Web Age course Progressive Web Application Development Using Entity Framework Core and Blazor Training.
In this tutorial, you will create a Blazor WebAssembly application.
Part 1 – Create a Blazor WebAssembly Application
In this part of the lab, you will create the initial Blazor application.
1. Open Visual Studio.
2. Click Create a new project.
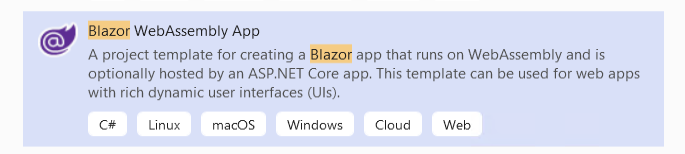
3. Select the Blazor WebAssembly App project template and click Next. You may see Blazor App if you have another Visual Studio version.
 4. Enter BlazorTraining as Project Name.
5. Enter C:\LabWorks as Location.
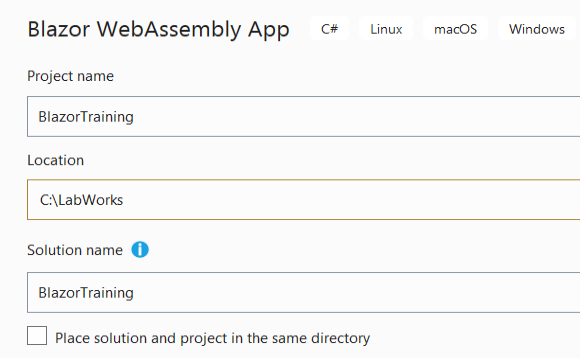 6. Click Next.
7. Ensure .Net 5.0 is selected.
8. Select ASP.NET Core hosted.

9. Click Create.
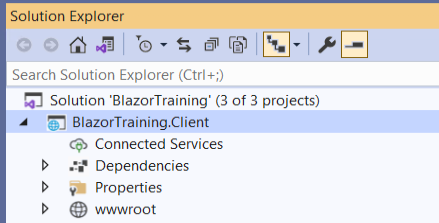
10. After the project is created, select BlazorTraining.Client.
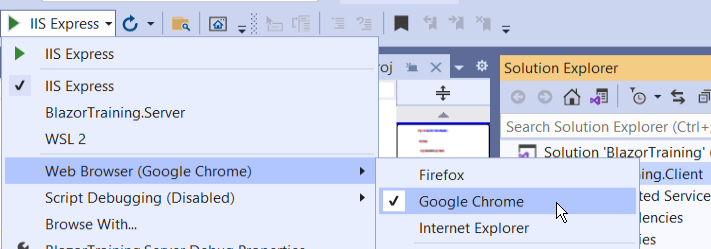
11. Ensure you set Chrome as the default. Click IIS Express → WebBrowser and select Google Chrome.
12. From the menu, run the application by clicking Debug | Start Without Debugging.
In another Visual Studio 2019 version, use Run instead of Debug
If the following dialog opens, click Yes.
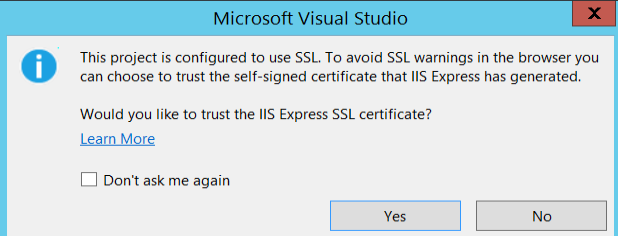
If the following dialog opens, click Yes.

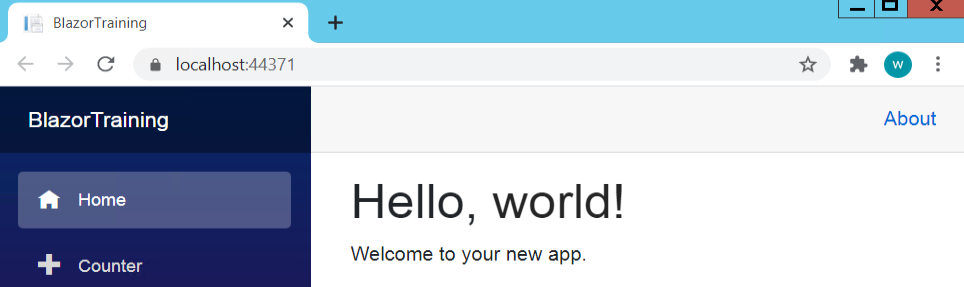
13. The browser will open the application. After you review it then close the browser to stop the application.
Part 2 – Add a content page
In this part of the lab, you will add a content page to the application, and integrate it into the application menu.
Currently, the About link in the upper right-hand corner of the application links to general Blazor information on Blazor.net. We want to replace that with a content page that is part of this application.
1. In the BlazorTraining.Client application, right-click on the Pages folder and select Add → Razor Component, naming the new component About.razor
2. Delete the content in the file.
3. Add a page directive to make this a routable component:
@page "/about"
4. If you wish, you can make up some generic “about us” content. You can copy this content from AboutContent.
5. Save the file.
6. Open the Shared → MainLayout.razor file.
7. Edit the About link, changing the href attribute to “/about” and removing the target=”_blank” attribute:
<a href="/about" class="ml-md-auto">About</a>
8. Save the file.
9. Build and debug the application to make sure that clicking the link displays your new page.
Part 3 – Add an interactive page
In this part of the lab, you will add a page whose content will be interactive, governed by some C# code that will be executed in the browser. A button click will show/hide some Frequently Asked Question content.
1. In the BlazorTraining.Client application, right-click on the Pages folder and select Add → Razor Component, naming the new component Faqs.razor
2. Delete the content.
3. Add a page directive to make this a routable component:
@page "/faqs"
4. Write some content with FAQs. You can copy the content from FAQContent.
5. Save the file.
6. Open the Shared → NavMenu.razor component file.
7. Duplicate the third <li> element, change the href attribute of the <NavLink> element to “faqs” and change the text to FAQs:
<li class="nav-item px-3">
    <NavLink class="nav-link" href="faqs">
        <span class="oi oi-list-rich" aria-hidden="true"></span> FAQs
    </NavLink>
</li>
8. Save the file.
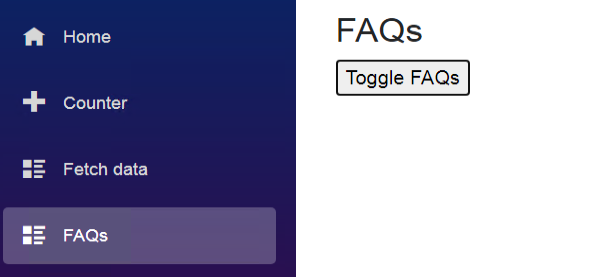
9. Compile and debug the application. Verify that the new menu link works. Then stop the debugging session.
Note: The Toggle FAQs button doesn’t function yet.

10. Add the code block for the Faqs razor component and add a boolean variable to control whether the content is visible or not, initializing it to a value of false. Also, create a method that will toggle the value of this variable every time it executes:
@code {
   private bool visible = false;
   private void ToggleVisible() {
       visible = !visible;
   }
}
11. In the content for the Faqs razor component, wrap the <dl> content inside a conditional block that will render the content only if your variable has a value of true:
@if (visible) {
    // <dl> content goes here
}
12. In the content for the Faqs razor component, connect the button click event to the toggling function you wrote:
<button @onclick="ToggleVisible">Toggle FAQs</button>
13. Save the file.
14. Compile and debug the application. Verify that clicking the button will show and then hide the FAQ content.
15. Close the browser.
16. Close Visual Studio.
Part 4 – Review
In this tutorial, you created a Blazor WebAssembly application and added a couple of content pages, one static and one dynamically controlled by C# code executing in the browser.