This tutorial is adapted from Web Age course Spring Boot Training.
In this tutorial, you will add Spring Data REST support to an existing application. The existing application is a simple Spring Boot application with Spring Boot, JPA, and H2 packages added to it. The application will persist data in an H2 database. You will expose the data as REST APIs using Spring Data REST. Spring Data REST exposes data in JSON format. The way JSON is structured is called HAL – Hypertext Application Language. HAL is flexible and offers a convenient way to provides links to the data that is served.
Part 1 – Set-Up
In this part, you will set up a project in Eclipse that you will use to implement Spring Data REST.
1. Download the spring-data-rest-starter.zip from here. Extract C:\LabFiles\spring-data-rest-starter.zip to C:\Workspace\ folder. This will create the C:\Workspace\spring-data-rest-one-to-many folder.
(Note: Ensure that you don’t extract it using the zip file name, or adjust the folder as above)
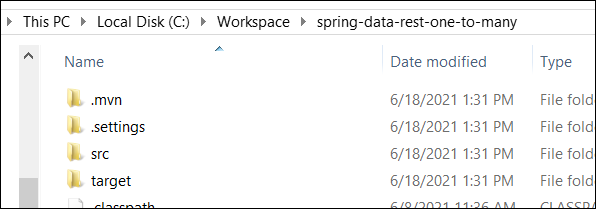
2. Your folder should look like this:
3. In Eclipse, click File | Import.
4. Select Maven | Existing Maven Projects.
5. Click Next.
6. Click Browse.
7. Select the C:\Workspace\spring-data-rest-one-to-many folder.
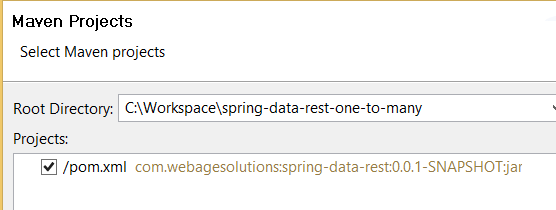
8. Click Finish.
9. In Project Explorer, expand spring-data-rest-one-to-many, right-click pom.xml, and click Maven | Update Project.
10. Click OK.
Part 2 – Understanding the Starter Project
In this part, you will explore the existing project before you implement Spring Data REST.
1. In Project Explorer, open pom.xml
Notice the following packages are already added to the project.
org.springframework.boot:spring-boot-starter-web
org.springframework.boot:spring-boot-devtools
com.h2database:h2
org.springframework.boot:spring-boot-maven-plugin is also
configured in pom.xml
2. In Project Explorer, expand src/main/java.
3. Expand com.webagesolutions.springdatarest.domain.
4. Open Customer.java.
Notice there is a Customer class with Id and Name properties. The class isn’t configured with annotations to act as an entity. You will do that later in this tutorial.
5. Open Order.java.
Notice there is an Order class with Id, OrderDate, and Amount properties. The class isn’t configured with annotations to act as an entity. You will do that later in this tutorial. Also, there is no relationship between Customer and Order classes at this point. You will configure the one-to-many relationship between the classes later in the tutorial.
6. In Project Explorer, open src/main/resources/application.properties.
Notice it contains the following configuration for the in-memory H2 data.
spring.h2.console.enabled=true
spring.datasource.url=jdbc:h2:mem:testdb
spring.data.jpa.repositories.bootstrap-mode=default
spring.jpa.defer-datasource-initialization=true
7. Open src/main/resources/data.sql.
Notice it contains the following SQL that adds sample data into the customers table of the H2 database. SQL to insert data into the orders is currently commented out. You will uncomment and test it later in this tutorial.
insert into customers
values(1001, ‘Bobby’);
insert into customers
values(1002,’Drew’);
–insert into orders
–values (1, 99.95, ‘2010-10-01’, 1001);
–insert into orders
–values (2, 149.95, ‘2015-05-03’, 1002);
–insert into orders
–values (3, 49.95, ‘2018-08-07’, 1002);
–insert into orders
–values (4, 19.95, ‘2021-01-02’, 1001);
8. Close all open files.
Part 3 – Modify the application to create the Customer Table in H2
In this part, you will add annotations to the Customer class so a Customer table gets created in the H2 database.
1. Open Customer.java.
2. Add annotation to the Customer class as shown in bold below:
@Entity( name =”customers”)
public class Customer {
3. Add annotations to the id field as shown in bold below:
@Id
@GeneratedValue
private Long id;
4. Press Ctrl+Shift+O to resolve imports. Select javax.persistence for all imports.
5. Save the file.
6. In Project Explorer, expand com.webagesolutions.springdatarest
7. Right-click SpringDataRestApplication.java, and select Run As | Java Application.
8. Open a browser window and navigate to the following URL to view H2 Console:
http://localhost:8080/h2-console
Notice the following options show up on the page.
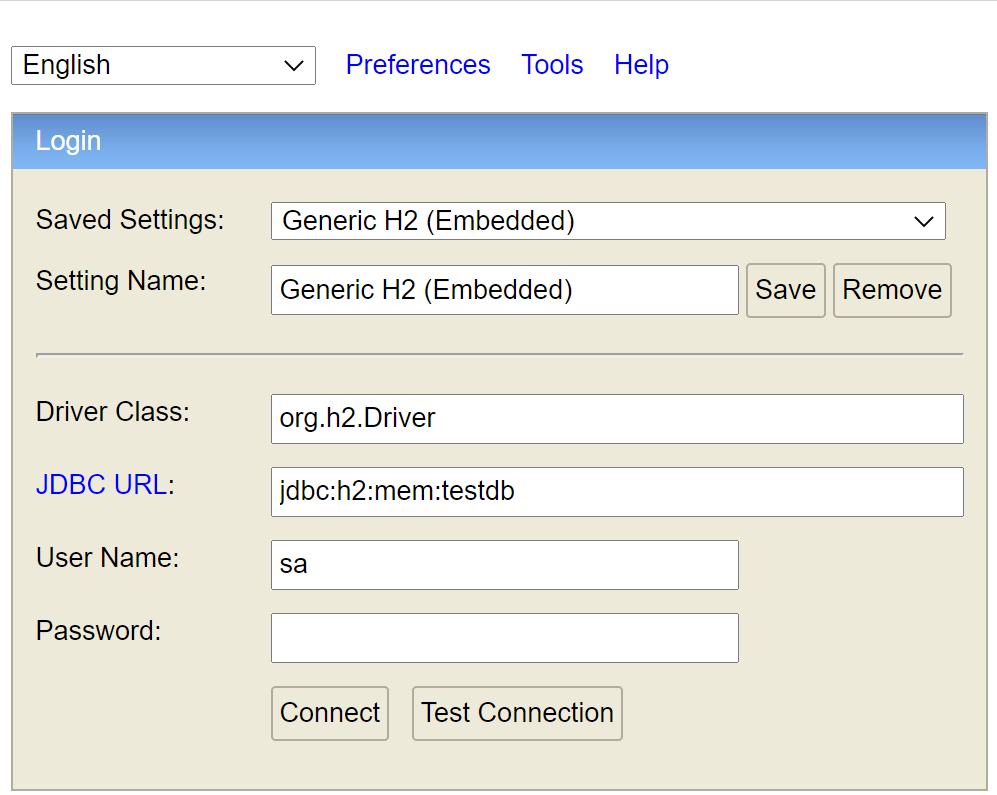 9. In JDBC URL:, enter the following value:
jdbc:h2:mem:testdb
10. Keep the remaining options as-is and click Connect.
Notice the following page shows up.
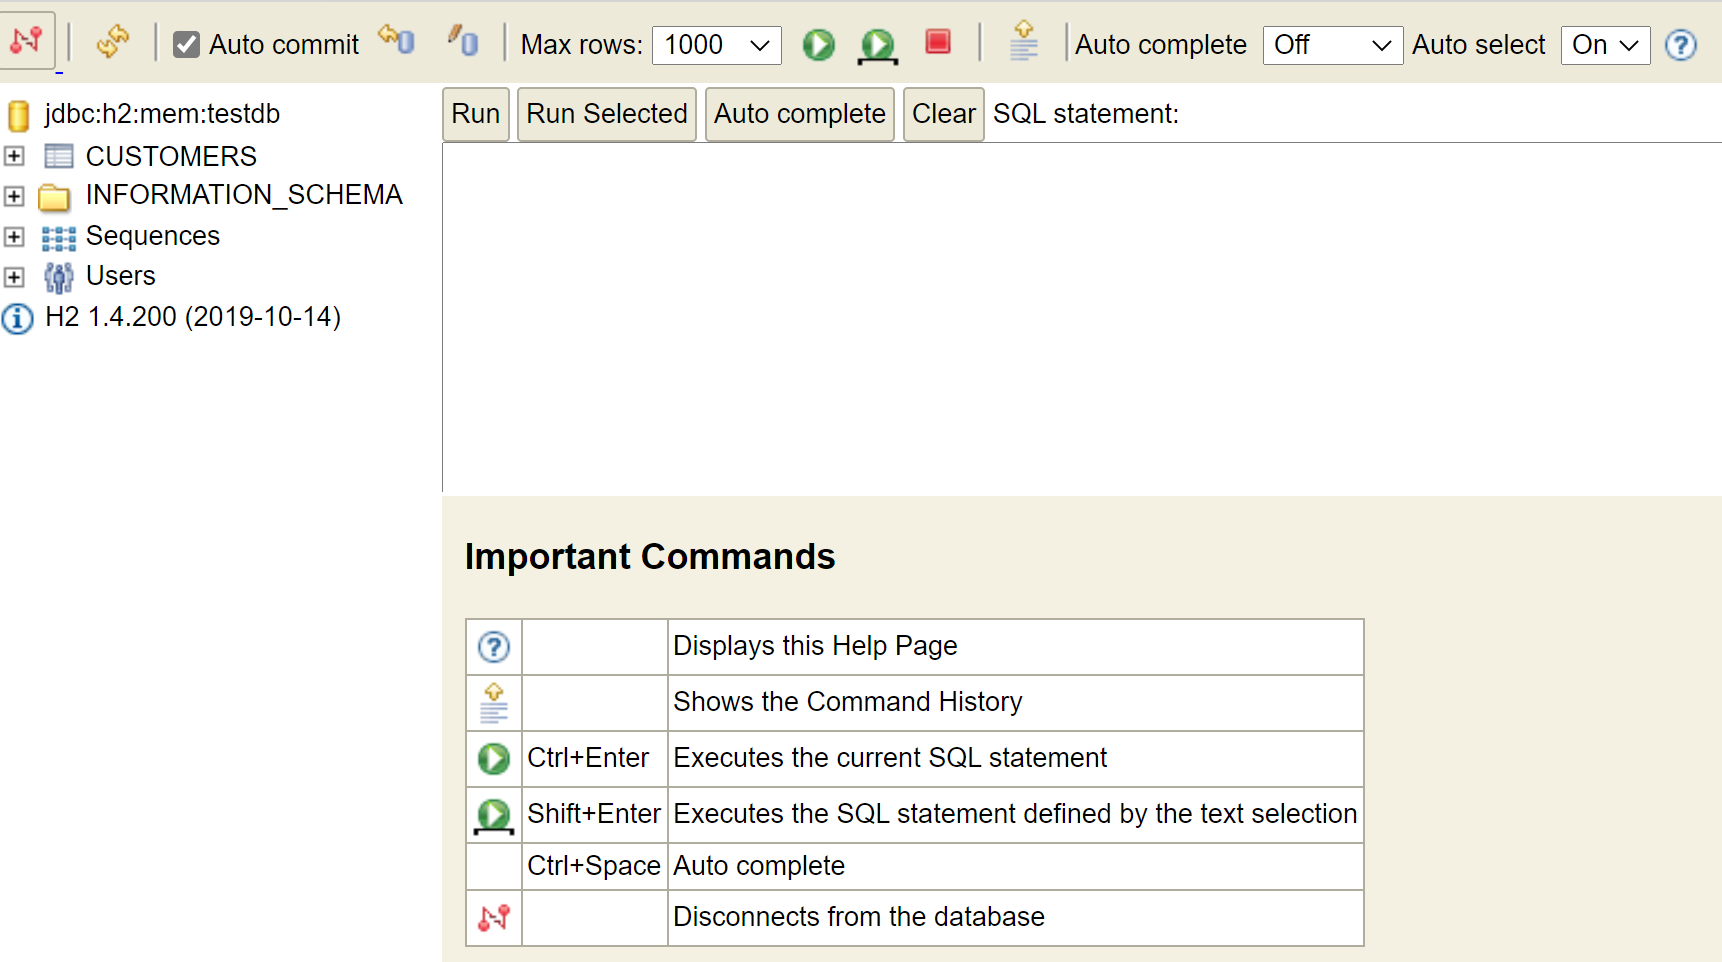 Notice there is the CUSTOMERS table in H2. How did the Customer table get generated? It’s because of Spring Boot Auto Configuration.
11. In the pane on the left-hand side, click CUSTOMERS.
It should automatically write the following query for you:
SELECT * FROM CUSTOMERS
12. Click Run.
Notice the following result shows up on the page.
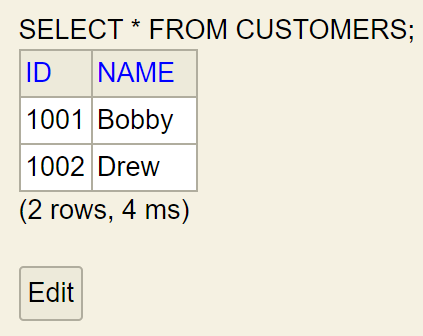 At this point, you have a working application that generates the Customers table in H2 using JPA.
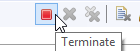
13. Back in eclipse, click the red button to Terminate the App.
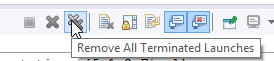
 14. Click the XX button to Remove All Terminated Launches.

Part 4 – Using Spring Data REST
In this part, you will modify the application so the Customers table can be exposed as REST API using Spring Data REST.
1. In Project Explorer, open pom.xml.
2. In the dependencies section, add the following Spring Data REST dependency:
org.springframework.boot
spring-boot-starter-data-rest
3. Save the file.
4. Right-click src/main/java and click New | Package.
5. In Name, type com.webagesolutions.springdatarest.dataservice
6. Click Finish.
Note: If the package shows up as a nested package, right-click the project and click refresh.
7. Right-click the newly created com.webagesolutions.springdatarest.dataservice package and click New | Interface.
8. In Name, enter CustomerRepository
9. Click the Add button next to Extended interfaces.
10. In choose interfaces, type PagingAndSortingRepository.
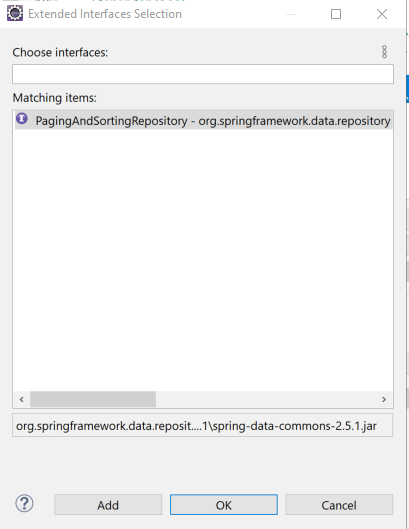 11. Click OK.
12. Click Finish.
13. Modify the interface as shown in bold below:
public interface CustomerRepository extends PagingAndSortingRepository<Customer, Long> {
14. Press Ctrl+Shift+O to organize imports.
15. Add the annotation to the interface:
@RepositoryRestResource(path = “customers”, collectionResourceRel = “customers”)
Note: the path will be required as part of the URL. e.g. http://localhost:8080/customers.
collectionResourceRel=” customers” means the JSON produced by the REST API will be enclosed in a collection named customers. You can customize it if you want.
16. Press Ctrl+Shift+O to organize imports.
17. Save the file.
18. Right-click SpringDataRestApplication.java, and select Run As | Java Application.
19. Open a new tab in the browser window and navigate to the following URL:
http://localhost:8080
Notice the output looks like this:
{
“_links” : {
“customers” : {
“href” : “http://localhost:8080/customers{?page,size,sort}”,
“templated” : true
},
“profile” : {
“href” : “http://localhost:8080/profile”
}
}
}
20. Spring Data REST has made our Customer entity available as a REST service endpoint.
21. In the browser, navigate to the following URL:
http://localhost:8080/customers
Notice all your customers are displayed in JSON format.
Part 5 – Test Spring Data REST with Postman
By default, Spring Data REST supports all REST operations. In this part, you will perform GET, POST, PUT, and DELETE operations using Postman.
1. Open Postman. If it’s not installed on the machine, download it for free.
2. Click the + to open a new tab.
3. Use the GET method with the following URL and click Send:
http://localhost:8080/customers
 Notice the output matches what you saw on the browser.
 4. Switch the method to POST. Do NOT press the Send button yet.
5. Click Body.
6. Switch the drop-down values to raw | JSON.

7. Enter the following JSON.
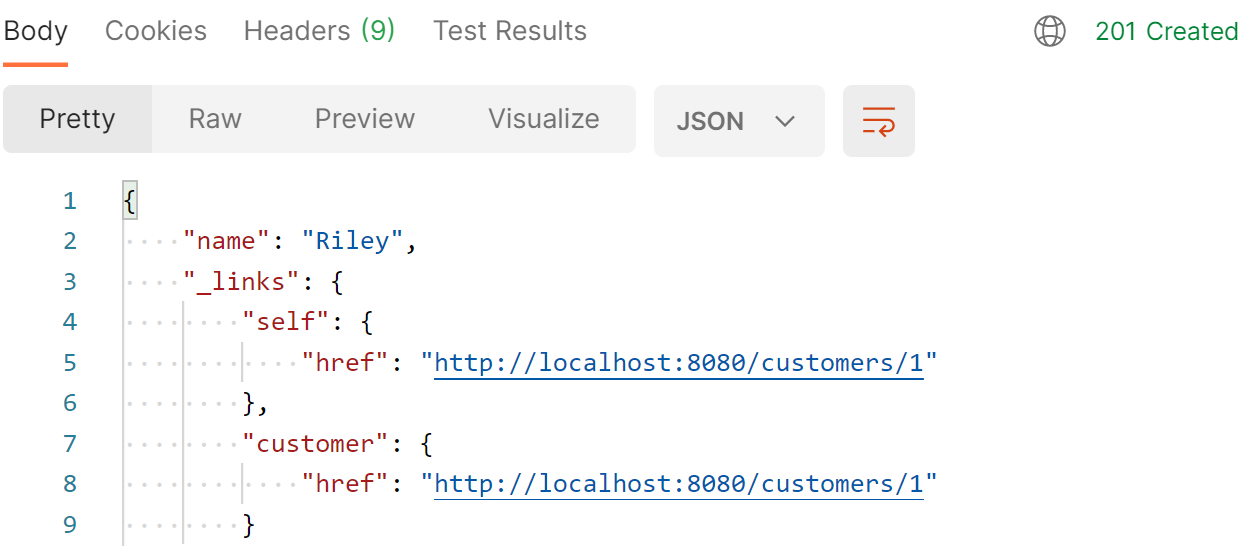
{ “name”: “Riley” }
8. Click Send.
Notice a status code of 201 Created is displayed. You can also see the newly created record’s URL.
 You can also verify on http://localhost:8080/h2-console that the record got inserted into the H2 database.
9. Switch the method to GET and click Send.
Notice the newly inserted record shows up in the product list.
10. Change the method to PUT.
11. Change the URL to:
http://localhost:8080/customers/1
Notice you have added the product Id to the URL.
12. In Body, change JSON as shown in bold below:
{ “name”: “Morgan” }
13. Click Send.
Notice you get a 200 OK Status.
14. Change the method to GET, URL to http://localhost:8080/customers, and click Send.
15. Verify that the record has been updated.
16. Change the method to DELETE, URL to http://localhost:8080/customers/1, and click Send.
17. Verify using the GET method and on the H2 Console that the record got deleted.
18. Back in eclipse, click the red button to Terminate the App.
 19. Click the XX button to Remove All Terminated Launches.
Part 6 – Using Spring Data REST HAL Explorer
In this part, you will modify the application to add HAL Explorer to it.
1. In Project Explorer, open pom.xml.
2. Add the following dependency to the dependencies section:
org.springframework.data
spring-data-rest-hal-explorer
3. Save the file.
4. Right-click SpringDataRestApplication.java and click Run As | Java Application.
5. In the browser window, navigate to the following URL:
http://localhost:8080
Notice Spring Boot Data REST HAL Explorer shows up like this:
6. Click the HTTP Request button next to customers.
7. Set the size to 1.
8. Click Go.
Notice just the first record is displayed in Response Body.
Also, notice the URL looks like this:
http://localhost:8080/customers?size=1
Likewise, you can set page and sort query string values.
Part 7 – Using One-to-Many Relationship
In this part, you will implement the one-to-many relationship between Customer and Order entities. You will also test it using HAL Explorer.
1. In Project Explorer, open Order.java.
2. Add the annotation to the Order class as shown in bold below:
@Entity( name =”orders”)
public class Order {
3. Add annotations to the id field as shown in bold below:
@Id
@GeneratedValue
private Long id;
4. Press Ctrl+Shift+O to resolve imports. Select javax.persistence for all imports.
Take a moment to study the customer field and the setter/getter methods. It would be used to back-link an order to the customer who placed the order.
5. Add the following annotation to the customer field as shown below in bold:
@ManyToOne(fetch=FetchType.EAGER)
private Customer customer;
Notice you are using eager loading, instead of lazy loading.
6. Press Ctrl+Shift+O to resolve imports.
7. Save the file.
Next, let’s link the Customer class to the Order class.
8. Open Customer.java.
9. Locate the comment // TODO: add code here and add the orders property as shown in bold below:
private List orders;
public List getOrders() {
return orders;
}
public void setOrders(List orders) {
this.orders = orders;
}
10. Press Ctrl+Shift+O to organize imports. Select java.util.list.
11. Link the Customer class to the Order class by adding the annotation to the orders field as shown below in bold:
@OneToMany(mappedBy = “customer”, cascade = CascadeType.ALL, fetch = FetchType.EAGER)
private List orders;
Ensure the mappedBy attribute matches the property name in the Order class’s backlink reference.
12. Press Ctrl+Shift+O to organize imports. Select javax.persistence.CascadeType
13. Save the file.
Next, you will create a Spring Data REST service for the Order entity.
14. Right-click the newly created com.webagesolutions.springdatarest.dataservice package and click New | Interface.
15. In Name, enter OrderRepository
16. Click the Add button next to Extended interfaces.
17. In choose interfaces, type PagingAndSortingRepository.
18. Click OK.
19. Click Finish.
20. Modify the interface as shown in bold below:
public interface OrderRepository extends PagingAndSortingRepository<Order, Long> {
21. Press Ctrl+Shift+O to organize imports. Select com.webagesolutions.springdatarest.domain.Order and click Finish.
22. Add the annotation to the interface as shown below:
@RepositoryRestResource(collectionResourceRel = “orders”, path = “orders”)
public interface OrderRepository extends PagingAndSortingRepository<Order, Long> {
Note: path will be required as part of the URL. e.g. http://localhost:8080/orders.
collectionResourceRel=”orders” means the JSON produced by the REST API will be enclosed in a collection named orders. You can customize it if you want.
23. Press Ctrl+Shift+O to organize imports.
24. Save the file.
Since you are using the DevTools package, each time you save a file, the application is automatically recompiled and hosted.
25. Expand src/main/resources.
26. Open data.sql
27. Uncomment the statements that insert data into the orders table.
Your data.sql should look like this after uncommenting the code:
insert into customers
values(1001, ‘Bobby’);
insert into customers
values(1002,’Drew’);
insert into orders
values (1, 99.95, ‘2010-10-01’, 1001);
insert into orders
values (2, 149.95, ‘2015-05-03’, 1002);
insert into orders
values (3, 49.95, ‘2018-08-07’, 1002);
insert into orders
values (4, 19.95, ‘2021-01-02’, 1001);
28. Save the file.
29. Back in eclipse, click the red button to Terminate the App.
30. Click the XX button to Remove All Terminated Launches.
31. Right-click SpringDataRestApplication.java and click Run As | Java Application.
32. Open a new tab in the browser window and navigate to the following URL:
http://localhost:8080
Notice it shows the following page:
33. Click the button next to customers.
34. Click Go.
Notice all customers are displayed in Response Body.
35. In the Embedded Resources section, click the second customer.
Notice Drew is displayed.
36. Click orders to see orders placed by Drew.
37. Notice Response Body shows only orders placed by Drew.
38. In HAL Explorer’s URL field, enter the following URL:
http://localhost:8080/orders/1/customer
39. Click Go.
Notice it shows who placed Order Id 1. It’s Bobby in this case.
Part 8 – Clean-Up
1. Back in eclipse, click the red button to Terminate the App.
2. Click the XX button to Remove All Terminated Launches.
3. Close all open files.
4. Close the browser.
5. Close Postman.
Part 9 – Review
In this tutorial, you added Spring Data REST support to an existing application.