This tutorial is adapted from Web Age course Developing Microservices Training.
In this tutorial , you will build a web service that will be deployed as a AWS Lambda and will store data in a Couchbase bucket. Before you start this tutorial, you should know the basic mechanism for creating and deploying a Lambda . In this tutorial, you will learn to:
-
Use the Couchbase client API to store data.
-
Configure a AWS API Gateway for the Lambda so that a client can call the web service.
Part 1 – Business Requirement
The web service will let users register themselves. It will take as input a document like this:
{
    "email":"daffy-duck@wb.com",
    "phone":"+1283738373",
    "password":"bugs_bunny_stinks"
}
After the user is added to the database it will respond with a document like this:
{
    "link":"/user/YWISY17627X@23@1"
}
Part 2 – The Software Topology
Our solution will have this software deployments.

In real life the Lambda and the Couchbase EC2 instance should be inside the same Virtual Private Cloud (VPC). This will help you prevent any direct access to the Couchbase instance from the Internet. Only the AWS Lambda will be able to connect to Couchbase. But then you will have to define NAT and other rules to allow access to the AWS Lambda from the API Gateway.
To keep things simple in this tutorial, we expose the Couchbase instance to the Internet using a public IP. This is totally unsafe but good enough for the tutorial.
Part 3 – Create the Project
1. In Eclipse create a Maven project with these coordinates:
Group ID: user-registration
Artifact ID: add-user
2. Replace the pom.xml file of the project with this pom.xml file.
Part 4 – Add the Request and Response Classes
1. In the add-user project add a Java package called com.acme.user
2. In that package add a class called RegistrationRequest
3. Add these member variables:
private String email;
private String phone;
private String password;
4. Generate getters and setters for the member variables.
5. Save changes.
6. In the same package, create a class called RegistrationResponse
7. Add this member variable:
private String link;
8. Generate getters and setters for the member variables.
9. Save changes.
Part 5 – Create the Lambda Class
1. In the com.acme.user package create a class called AddUserLambda
2. Make the class implement the RequestHandler interface.
public class AddUserLambda
  implements RequestHandler<RegistrationRequest, RegistrationResponse> {
}
3. We will configure various Couchbase connection parameters as environment variables for the Lambda. Let’s define the environment variable names as constants. Add these lines to the class.
private static final String COUCHBASE_IP = "COUCHBASE_IP";
private static final String COUCHBASE_BUCKET = "COUCHBASE_BUCKET";
4. Add this method that will open a connection to the Couchbase cluster and open the “default” bucket for storage.
public static Bucket getBucket() {
  //AWS Lambda environment requires extra timeout
  CouchbaseEnvironment env = DefaultCouchbaseEnvironment.builder()
      .connectTimeout(10000) //10s
      .build();

  CouchbaseCluster cluster = CouchbaseCluster.create(
      env,
      System.getenv(COUCHBASE_IP));
  Bucket bucket = cluster.openBucket(
      System.getenv(COUCHBASE_BUCKET), "wasadmin");
  return bucket;
}
If you are familiar with SQL databases like MySQL then you can think of a cluster as a database server instance. Except, Couchbase servers can be easily clustered for better fault tolerance and parallel query performance. A bucket is like a database where data is stored.
About timeout
Normally the default connection timeout of 5s is good in most cases. But we have found that for some reason AWS Lambda environment takes a little longer. As a result we have taken the steps necessary to increase the timeout to 10s.
5. Finally add the handleRequest() method:
public RegistrationResponse handleRequest(RegistrationRequest request, Context context) {
  String documentId = UUID.randomUUID().toString();
  JsonObject obj = JsonObject.empty()
      .put("email", request.getEmail())
      .put("phone", request.getPhone())
      .put("password", request.getPassword());
  JsonDocument doc = JsonDocument.create(documentId, obj);
  context.getLogger().log(String.format("Opening bucket:  ",
      System.getenv(COUCHBASE_IP),
      System.getenv(COUCHBASE_BUCKET)));

  try {
    //Save the document in Couchbase
    getBucket().insert(doc);
  } catch (Exception e) {
    e.printStackTrace();

    return null;
  }

  RegistrationResponse response = new RegistrationResponse();
  response.setLink(String.format("/user/%s", documentId));
  return response;
}
6. Organize imports. Select com.amazonaws.services.lambda.runtime.Context and com.amazonaws.services.lambda.runtime.RequestHandler if prompt. Make sure that there are no compilation errors.
7. Save changes.
Part 6 – Export the JAR File
1. Right click the add-user project and select Run As > Maven Build.
2. As goal enter package.
3. Click Run.
4. Make sure that the Console shows BUILD SUCCESS.
Part 7 – Create the Lambda in AWS
1. Make sure you are connected in AWS.
2. Open a web browser and go to https://console.aws.amazon.com/lambda.
3. Make sure you are in the right region.
4. Click Create function.
5. Click Author from scratch.
6. Enter the information as shown below.
Name: RegisterUser_YourName
Runtime: Java 8
Role: Create new role from template(s)
Role name: RegisterUserRole_YourName
Policy Templates: Simple Microservice permissions
7. Click Create function.
8. Scroll down to the Function code section and as the Handler enter the fully qualified class name of the Lambda: com.acme.user.AddUserLambda


9. Click the Upload button.
10. Select the JAR file exported earlier. It should be within the Eclipse workspace as add-user/target/add-user-0.0.1-SNAPSHOT.jar.
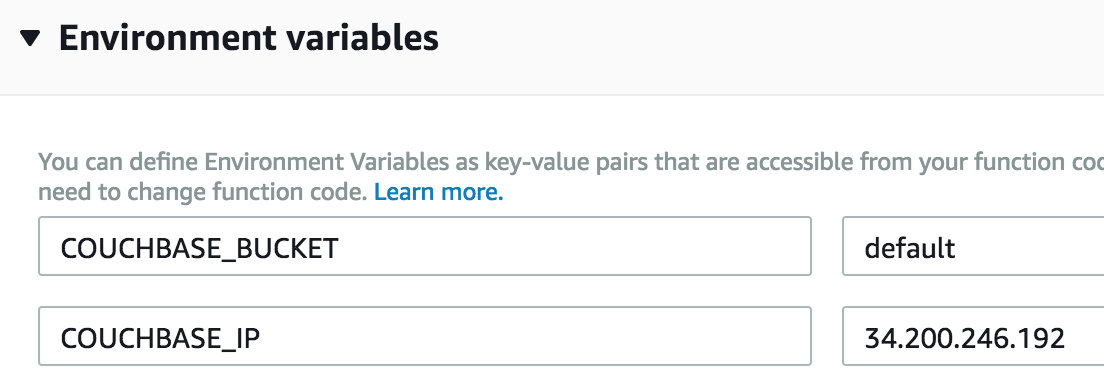
11. Expand Environment variables.
12. Add these environment variables. In your case the EC2 instance for Couchbase will have a different IP address.
COUCHBASE_BUCKET default
COUCHBASE_IP CoachBase-IP
 13. From the top of the page click the Save button. This will upload the JAR file and configure the other parameters.
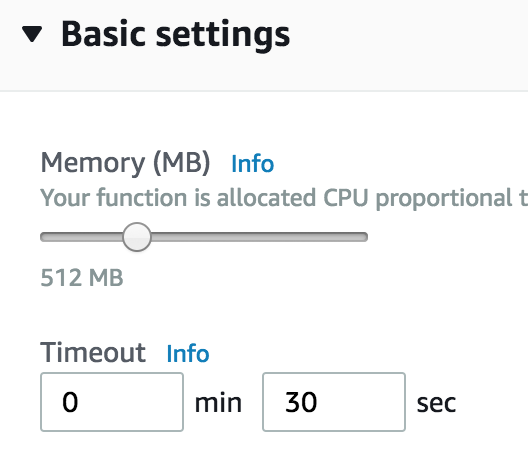
Part 8 – Increase Memory and Timeout
Every Lambda must finish within a limited time and must execute with a limited amount of memory. The default values are not sufficient for a Couchbase client. We will increase them now.
1. Under Basic settings enter these values:
Memory: 512MB
Timeout: 30sec
 2. Click the Save button from the top.
Part 9 – Test the Lambda
1. Click the Test button.
2. Enter an event name.
3. Enter an example request like below. Change the values to distinguish them in the server.
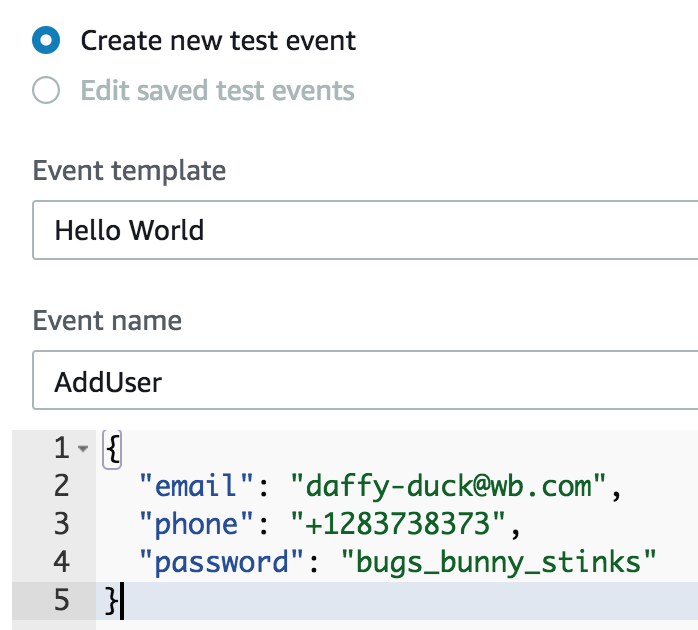 4. Click Create.
5. Click Test again. It will take a few seconds to complete the test.
6. Expand Details. Make sure that you see the response document.
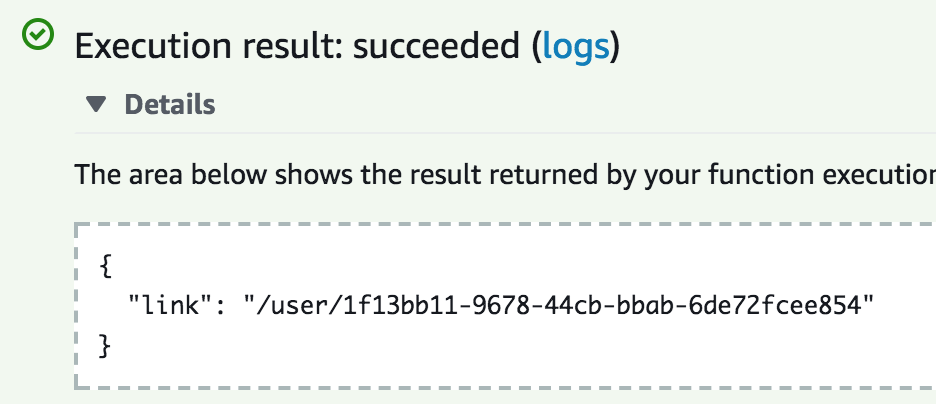 Troubleshooting
If you do not see a response document or the test fails, go through the logs. You can view the detail logs by clicking the logs link. Most common causes of error are:
– Timeout and memory settings were not increased.
– The environment variables are not correctly set. Our Lambda class logs the environment variable values. Make sure they are correctly shown in the log.
– The Couchbase EC2 instance is not running.
If there is an error in your code then:
1. Fix the code, export it again.
2. Upload the code in the AWS Lambda console.
3. Click Save.
4. Run the test again.
Part 10 – Access Couchbase Console
We will now log into the Couchbase console and make sure that the user got created correctly.
1. Open a web browser.
2. Enter the URL http://COUCHBASE_IP:8091. Where COUCHBASE_IP is the public IP address of the Couchbase EC2 instance.
 3. Enter your user ID.
4. Enter your password.
5. Click Sign in.
6. Click Buckets from the top.
7. We are using the default data bucket. Click the Documents link.
 8. Make sure that you see the documents added by our Lambda there. You will see other students documents. Click on the ID link to view the contents of a document.
 Part 11 – Create a HTTP Frontend for the Lambda

We will now expose our Lambda as a REST service. We will do this by creating an API Gateway.
1. Go back to AWS. Scroll down then click API Gateway under Configuration / Designer section.
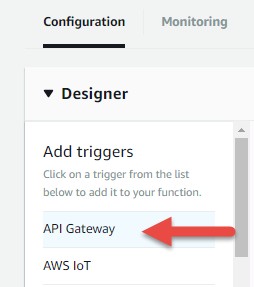 The API Gateway will appear.
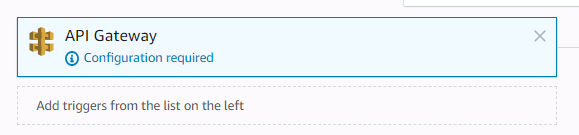 2. Scroll down, in the Configure triggers section click the drop down and select Create a new API.
3. Enter LambdaMicroservice_YourName as API name and deployment stage, make sure you use your name to identify your own Amazon API Gateway.
4. Expand Security and select Open. This is because our web service has no security requirements.
 5. Click Add.
6. Click Save.
This will create a new API Gateway with the name LambdaMicroservice_YourName. We will now configure this gateway.
7. Under API Gateway section, click the LambdaMicroservice_YourName link. This will open the Amazon API Gateway console page.
 8. Observe the following items:
-
An API called LambdaMicroservice_YourName has been created.
-
This API has a resource called RegisterUser_YourName. This resource can be invoked using ANY HTTP method. In real life perhaps you wish to restrict the method to PUT or POST.
 9. Click the ANY method name to configure the endpoint.
10. Click the Integration Request link.
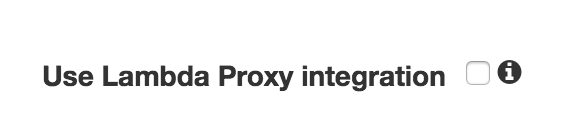
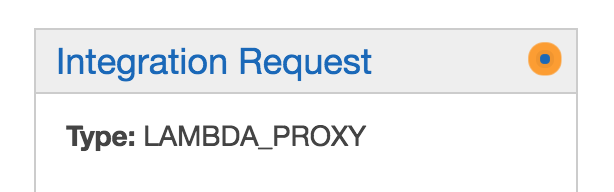 11. Uncheck Use Lambda Proxy integration. And accept the confirmation dialog.
 Our API Gateway is now created. We should go ahead and test it now.
Part 12 – Test the API Gateway
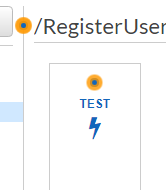
1. Click the ANY method under the RegisterUser_YourName resource.
2. Click TEST.
 3. Choose POST as the method.
4. Under Request Body enter a valid JSON request. For example:
 5. From the bottom of the page click the Test button.
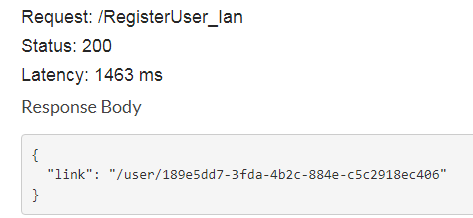
6. Verify that the response status code is 200 and the response document looks good.
 7. Log into Couchbase console and verify that the user document is showing up.
8. Delete all your the document so that we can easily verify future tests.
Part 13 – Deploy the API
We will now deploy the API that will make it publicly available.
1. Go back to AWS, under APIs select LambdaMicroservice_YourName.
2. Click the Actions button and select Deploy API.
3. As the Deployment stage select your LambdaMicroservice_YourName
4. Click Deploy.
After deployment a URL will become available for the API. Let’s find out what that is.
5. From the left hand side, click Stages.
6. Expand your API and click POST.
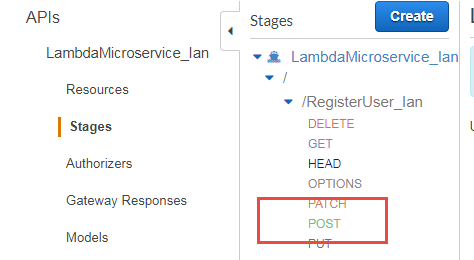 7. You will see the URL on the top of the page.
 Part 14 – Access the Web Service from the Internet

Now we can access our service publicly from the Internet. We will use the cURL command to simulate a HTTP client.
1. Copy the URL for the web service from the previous part. We will need it soon.
2. Open a command prompt window.
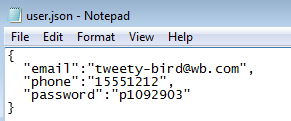
3. Create a directory LabFiles and copy user.json file in this directory from here.
4. Open the file using an editor and customize the values to make it unique.
 5. In the command prompt enter (in one line):
curl -v
-X POST --data @user.json SERVICE_URL
Where SERVICE_URL is the URL for our service that you have copied earlier.
6. Make sure that the response status is 200 and the response document looks correct.
 7. Go back to Couchbase console and verify that the user got created.
 8. Close the browser and eclipse.
Part 15 – Review
After this tutorial ,you should be able to:
-
Create a Lambda that accesses Couchbase database.
-
Log into Couchbase console and view the documents there.
-
Create a API Gateway for your Lambda so that it can be executed by a HTTP client.